

After signing in with the correct Profile for the Outlet and Section you wish to work in, go to the F/B Inventory – System 441 Menu (Quick Jump IN4).
Note that the Inventory Setups presented here are in the context of Point-of-Sale.
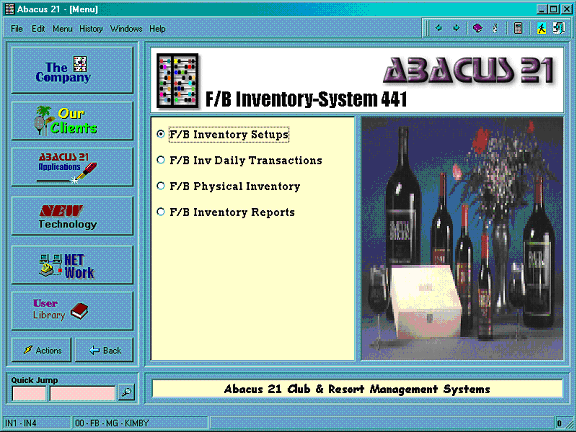
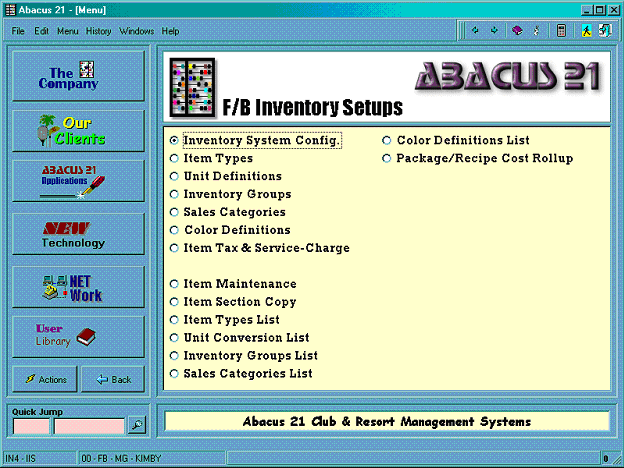
Next go into F/B Inventory Setups. The first seven of these menus are one-time setups.
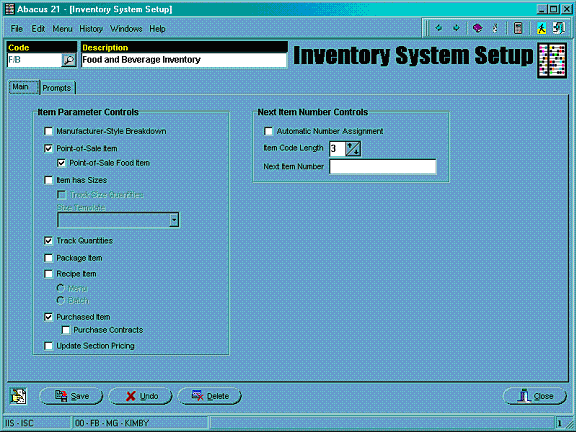
Inventory System Configuration -
Inventory Systems are used to segregate Inventory Items into separate Systems. For example, F/B Items vs. Retail Items. The Inventory System is then attached to the Outlet, which is done through Company Maintenance, Outlet/Section Tab. (Quick Jump SEC).
Keep in mind; if you are going to use Purchasing and/or are planning on doing Transfers and Requisitions between various locations, this can only be done within an Inventory System. There is no ability to ‘cross’ Inventory Systems for Transfers and Requisitions.
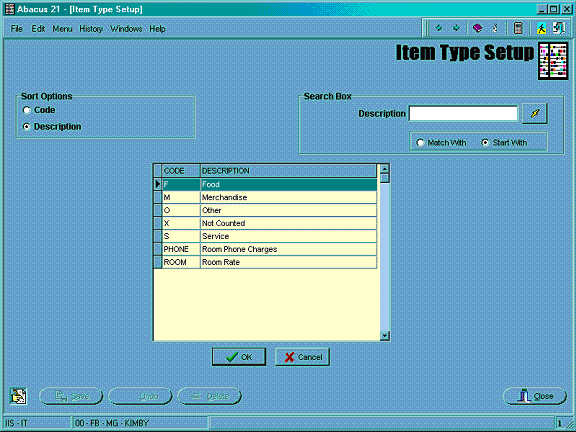
Item Types are another way of segregating like items. Below are examples:
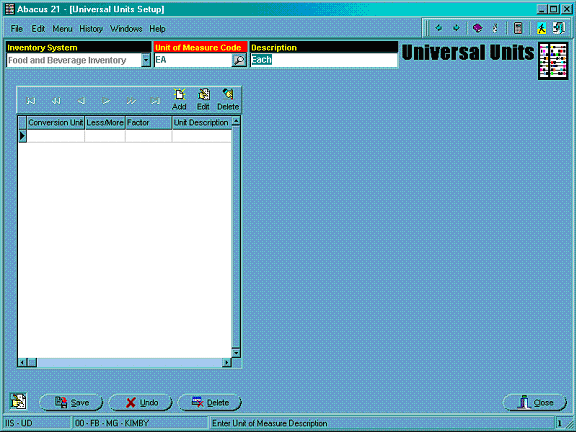
For F/B POS Menu Items, the only one you will need to build it EA for each. If, later on you choose to use the Abacus 21 Food and Beverage Inventory Module you will have to create new Units to reflect the F/B Inventory Items such as Can, Case, Pound, etc.
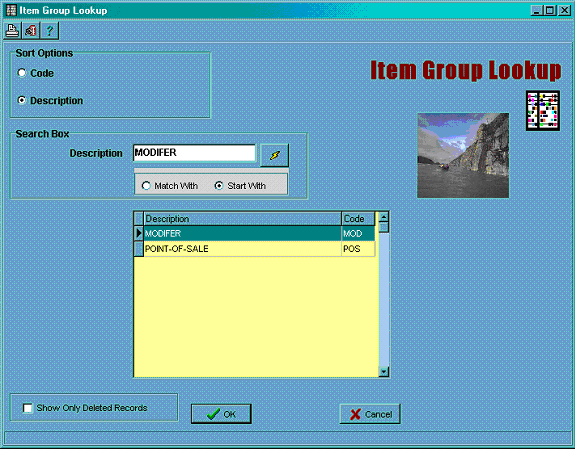
These Groups are used in the Physical Inventory Process and are not relevant in POS Items. However, a Group is required when building an Item, so we suggest two Groups (when for implementing just POS) – Point-of-Sale Item and Modifier.
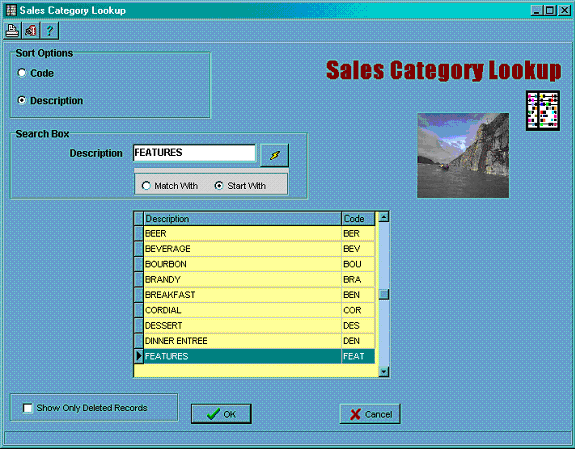
Sales Categories are used in Sales Analysis. They provide a way a linking together ‘like’ items for Sales Reporting purposes. Some examples are listing on the following print screen:
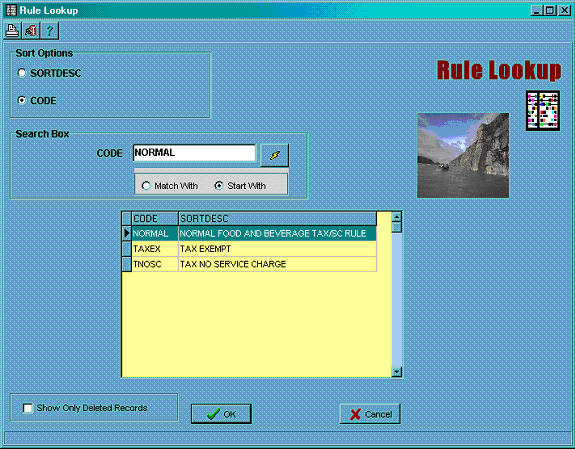
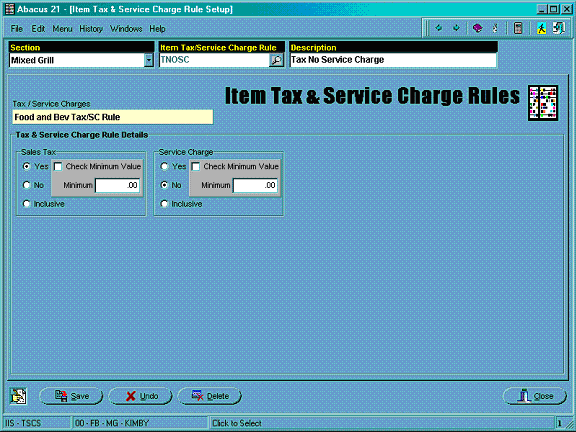
This program allows you to setup various Tax and Service Charges that apply to various items. For example, if all items in your Club carry the ‘normal tax and service charge’ that is setup in Company Maintenance, then you may only have to set up one Item Tax Service Charge Rule, but, if, for example you have some items that are exempt for Tax or Service Charge, then you may have to set up numerous Item Tax Service Charge Rules that will then be attached to the appropriate items in Item Maintenance. Below are two print screens showing several rules and examples of how one of the rules is setup.
Example of how the ‘Tax No Service Charge' Rule is setup:
There are two suggested pre-requisites when building Items:
It is recommended that you first complete the Printer Setups on the F/B POS System 441 Menu – under POS Setups (Quick Jump PS). Since printers are required when using the “FIRE” option, it will save you from having to go back to each item and fill in the appropriate printer if you already have them set up.
The second suggestion is to build all of your Modifiers Items first. Then go into the Modifier Prompt and Group Setups and build your Prompts and Groups. Then continue in Item Maintenance with the building of your actual Items. This way, you will already have the Prompt and Group choices available to you as you build the Items and will not have to go back and fill them in after the fact.
Now Select Item Maintenance. There are six main tabs when building an Inventory or POS Menu Item (the Section Tab does not show until you finish filling in the Stocking Tab). When you first go into the program, you select an Inventory System and create an Item Code. Then put in a description of the Item Code. Be Careful not to make the description too long, as this defaults into what will print on the POS Guest Check and on any Kitchen or Bar chits you may be firing to the Kitchen or Bar.
After entering the description, hit tab. The Sort Name will default in from the description. You may or may not choose to change this to create more generic sorts, which can later be used as a look-up option.
Fill in the remaining fields from the drop downs. These fields are some of what was created during our initial setups. On F/B POS Items, the Vendor field can be left blank.
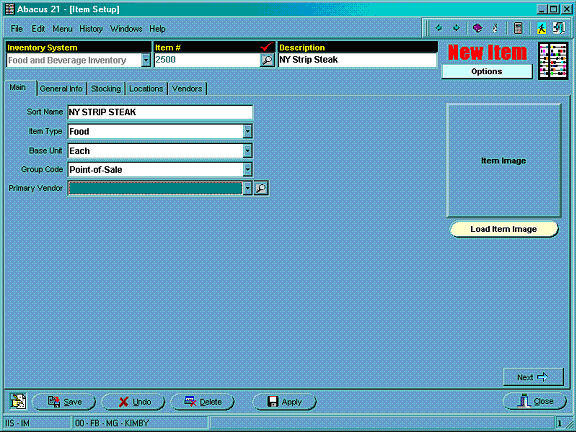
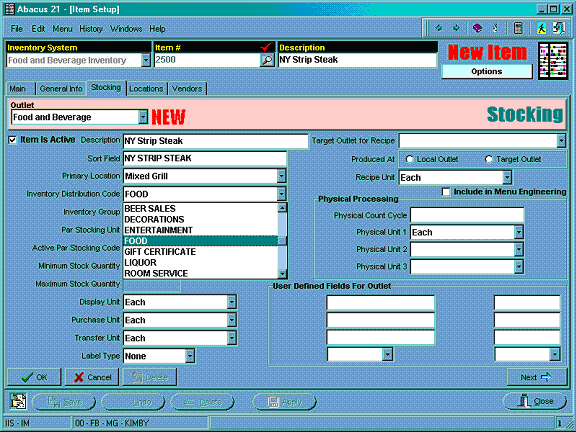
Click the Next button on the bottom left. This will take you to the next required tab, the Stocking Tab. By hitting the Tab key, the System will fill in any and all information that it can. There are two fields that you will have to fill in – the Primary Location and the Inventory Distribution Code. These are chosen from the drop down. Once these are filled in, click the Next Button on the bottom left.
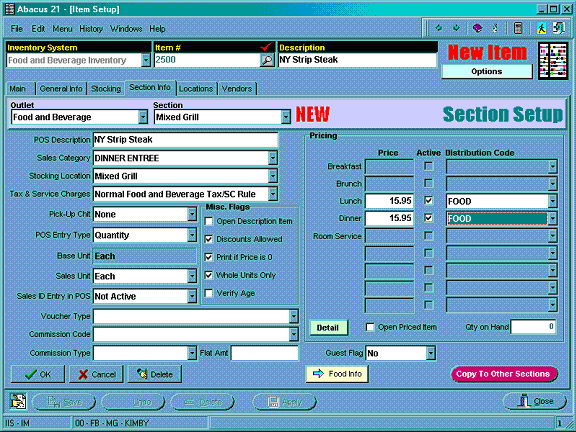
You are now at the Section Tab. By hitting the Tab Key, again the System fills in any and all information that it can. You are required to fill in the Sale Category, Stocking Location, Item Tax and Service Charge Rule and the Price and Distribution Code in the appropriate Meal period. You also have the Option of clicking on the Open Description and Open Price boxes. This will allow the Server to enter a description of their choosing and select their own price. This is usually done for the “Open Keys”.
Next, Select the Food Info Button at the bottom of the screen. This will take you to a screen where Modifier and Printer Information are filled in.
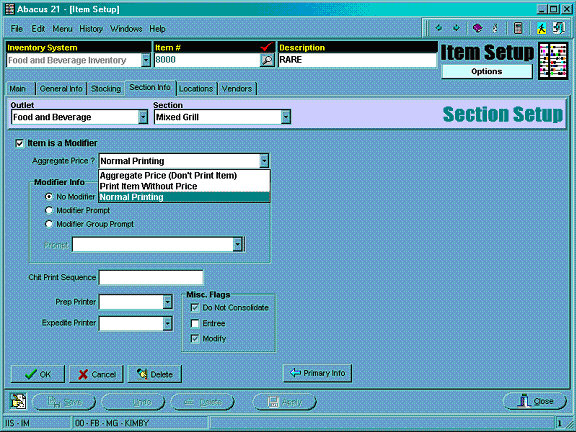
The Food Information Screen has several things on it. First, a box indicating if this item is a Modifier appears. If it is NOT a Modifier, then leave the box blank. If it is, you must check it. Next is the Aggregate Rule. If this item IS a modifier and has an associated price to it, you may choose to Print the Modifier and its Price on the Guest Check, Add the Price into the Main Item and not print the Modifier at all on the Guest Check, or Add the Price into the Main Item and print only the Modifier name, not its price on the Guest Check. Below is a print screen of those options:
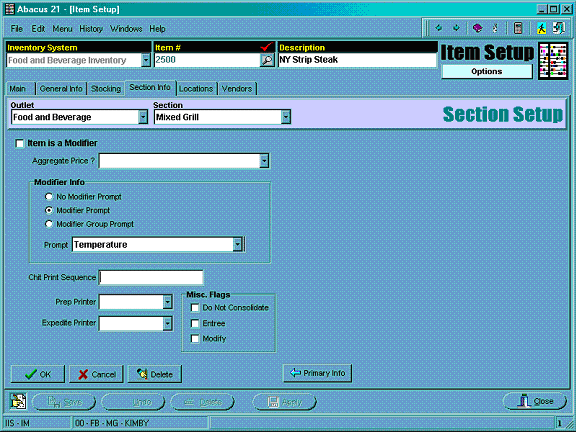
The Next Section of this screen is the Modifier Info Section. This Section is used for Normal Menu Items that have FORCED Modifiers associated with them. For example, a NY Strip Steak would, at the very least have Temp as a forced modifier. If this is the only modifier that you want to force, this is called a Modifier Prompt. Below is a print screen illustrating that choice:
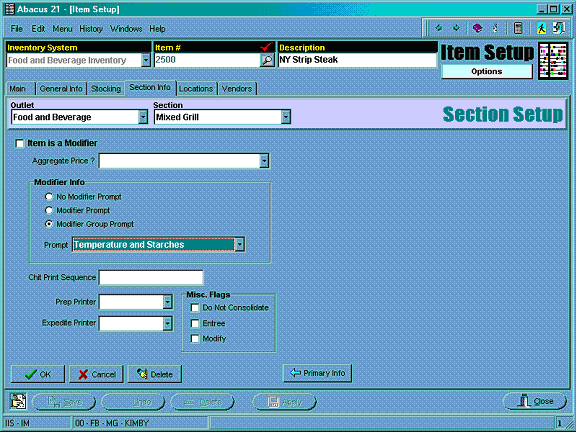
However, if you wanted to force Temp and Starch Choices, then you would attach an appropriate Modifier Group – basically, a Group of Prompts. If the Item has no forced modifier associated with it, the no Modifier option should be checked. This is the default. Below is a print screen of a Modifier Group Choice:
The next Section of this screen has to do with remote Chit printing to a Kitchen or Bar. You may determine the Chit printing sequence by assigning a number or letter (or combination) in the Chit Print Sequence Box. This will print the items in order of these numbers or letters rather than the order in which the Server rang them in. You may choose not use this option at all.
Next is the Prep and Expedite Printer field, you simply choose the correct printer that this item should be routed to. These must be set up in Printer Setups prior to being available here, so it’s a good idea to set up the printers first, rather than having to back in after the fact to each item.
The Miscellaneous Flags -
The first is an override of the Consolidate Chit flag in the POS Configuration Setups. If you do not want ONLY this item to NOT consolidate on the Kitchen/Bar chit, then you check this box. The second box is if this item should be ‘counted’ as an Entrée. It also corresponds to a setup flag on the POS Configuration setups called Count Entrée as Covers. It is used when the Server is NOT responsible for entering covers, but rather you use this flag to do your Cover Counts. The third box is Modify. It is not currently in use.