
Abacus 21 uses Topaz Signature Capture Devices... and the following section describes how to implement it for capturing Signature-on-File.
Prior to installing the Topaz Signature capture device, contact the Abacus 21 support department for the most recent version of the software needed for the installation.
After obtaining the latest version of the Topaz Software, double-click on the sigplusse.exe to start the Installation Process.
NOTE: Do not connect the Topaz Device to the Workstation until the installation of the Software is completed.
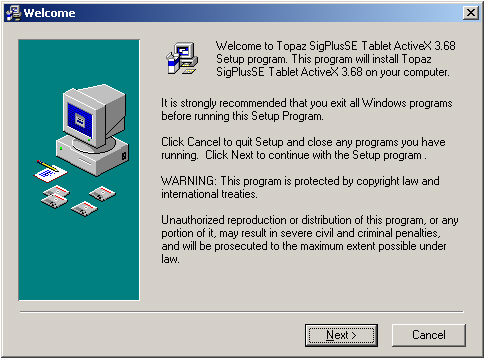
Click the 'Next' button to continue.

Click the 'Next' button again to continue the Installation.
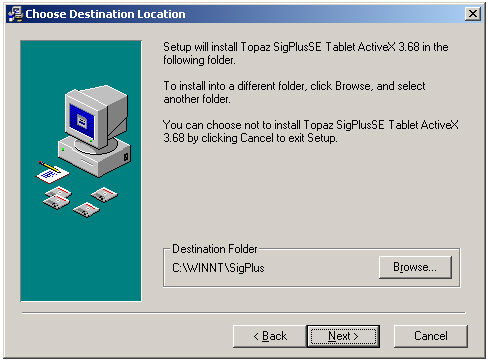
Select the folder where the Software is to be installed... and then click the 'Next' button to continue the Installation process.

Select the Operating System of the Workstation where the Software is being installed. Click the 'OK' button to continue.

Select the Device that is being installed. (Look on the back of the Device to find the Model Number.) Click the 'OK' button to continue.

Select the port that will be used for connecting the Topaz unit. If using a USB connection, click on the 'HSB' option. Click the 'OK' button to continue.
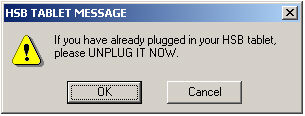
If using a USB connection, and the Device is connected to the Workstation, disconnect the Unit at this time. Click 'OK' to continue.
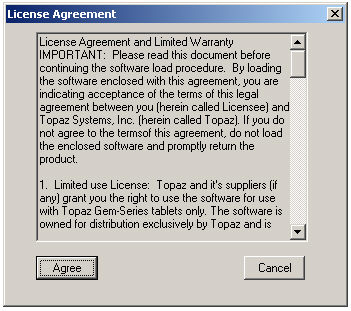
After reading the License Agreement, click the 'Agree' button to continue the Installation or the 'Cancel' button to exit the Installation Process.
The Topaz Software and Abacus 21 Drivers will now be installed on the Workstation.
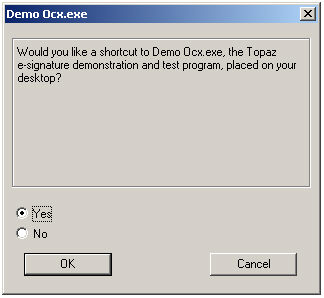
To add a shortcut to the Demo program for the Topaz unit, click on the “Yes” option and then click the 'OK' button to continue. This is optional.
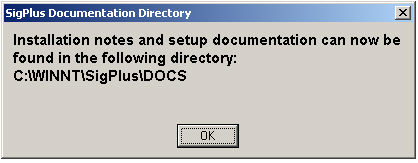
Installation Instructions and Documentation can be found in the directory listed in the above screen. The directory will vary depending on the Operating System and the installation directory selected. Click 'OK' to continue.
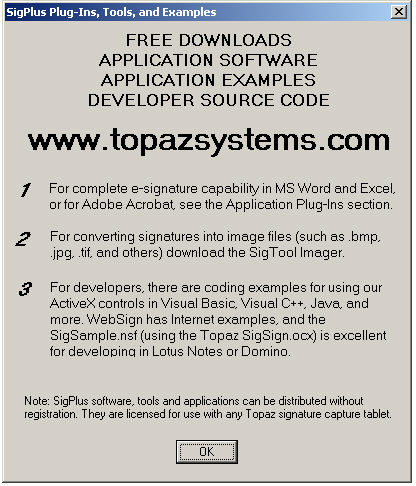
Click the 'OK' button to continue.
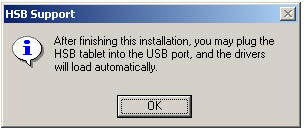
If using a USB connection, one additional screen will be displayed. Click on the 'OK' button to continue.
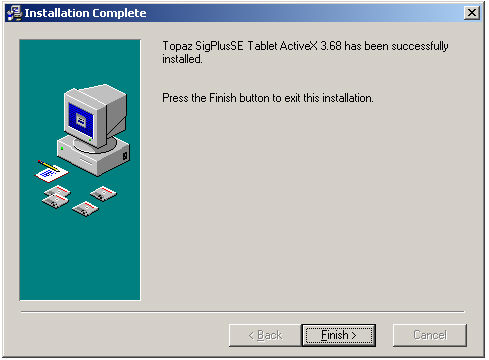
Click the 'Finish' button to complete the Installation Process.
At this point, the Topaz Unit can be connected to the Workstation. If using a USB connection, the Drivers will be installed automatically when the Device is connected.
System 441 Setups for Signature Capture -
Use the Quick-Jump option in System 441 to go to the SEC menu. Select the Workstation Setup Menu option.
From Workstation Setup, select the Workstation to which the Signature Capture Device will be connected.

Click on the 'Biometric Devices' button to access the Signature Capture setup.
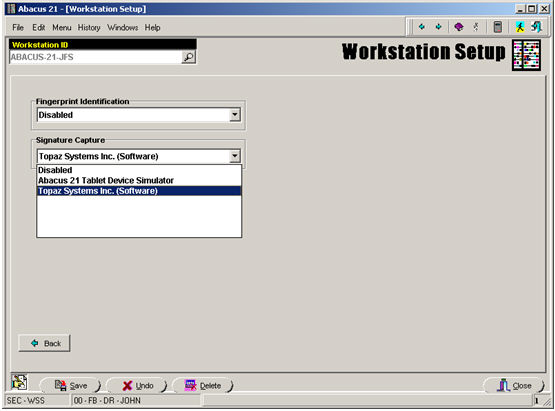
Click on the drop-down list for the Signature Capture option... and select the Topaz System Inc. (Software) option.
Click on the 'Save' button... and then click on 'Close' to return to the Menu.
NOTE: System 441 will need to be re-started on any Workstations that were changed prior to being able to use the Signature Capture features in Client (or Staff) Maintenance.
Signature Capture in Client Maintenance -
Use the Quick-Jump Menu Option and go to the CS-CS Menu option.
From the Client Maintenance screen, input the Client ID to add a Signature-on-File. Then click on the 'Personal' tab.
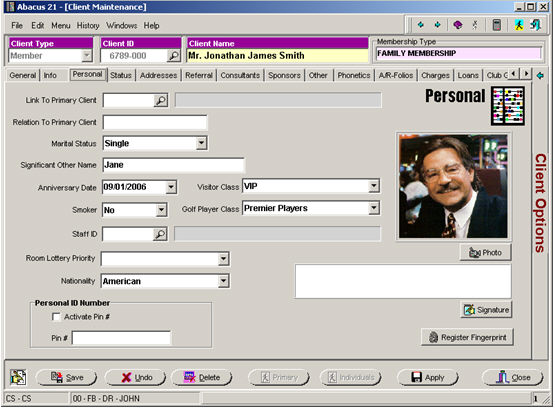
Click on the 'Signature' button to capture the Client’s Signature (on File).
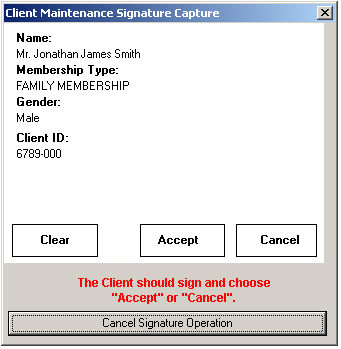
The above screen will be displayed on the Workstation. This same screen will also be displayed on the Topaz Unit.
Click on the 'Accept' button to save the Signature, the 'Clear' button to clear the screen and re-start, or the 'Cancel' button to cancel the Signature Capture process.
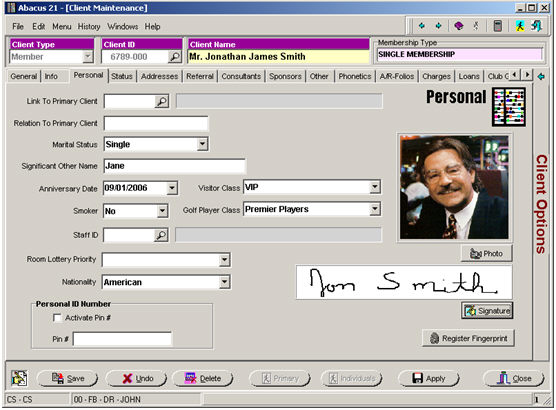
After accepting the Signature, the Signature-on-File will be displayed on the Personal tab in Client Maintenance.
NOTE: To change the Signature, click on the 'Signature' button again. A message box stating that a Signature is already on file will be displayed, click on the 'Yes' button to replace the existing Signature.
![]()
![]()